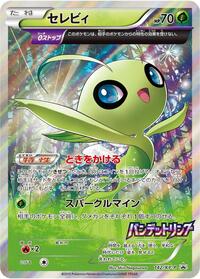
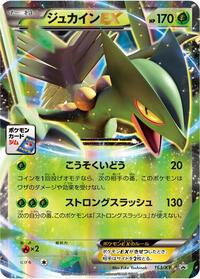
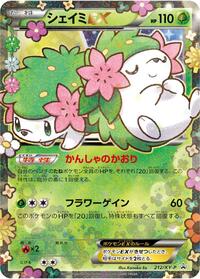
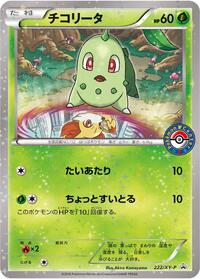
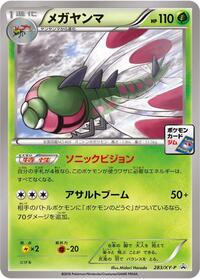
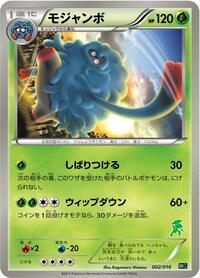
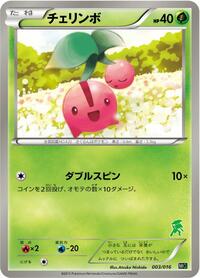
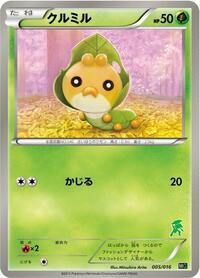
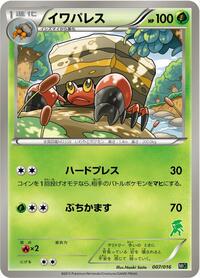
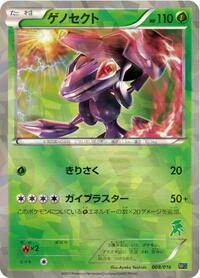
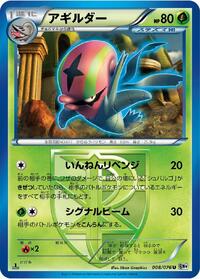
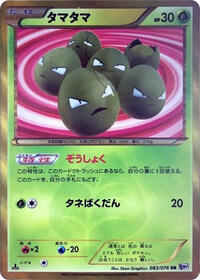
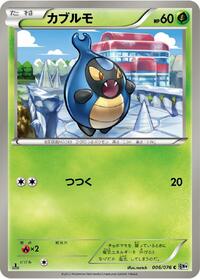
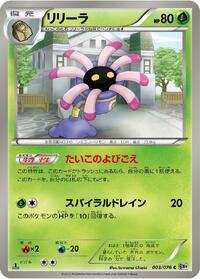
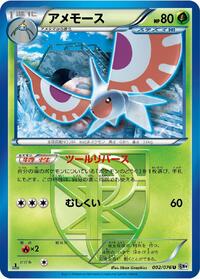
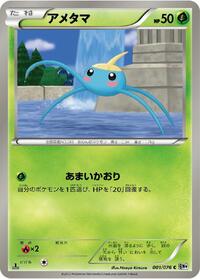
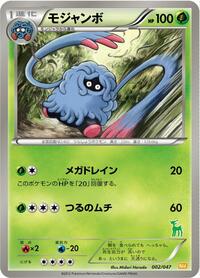
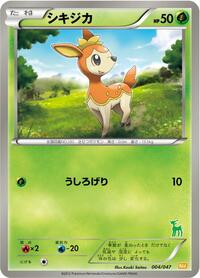
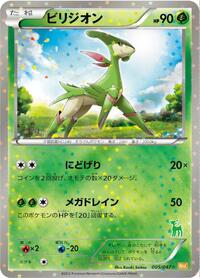
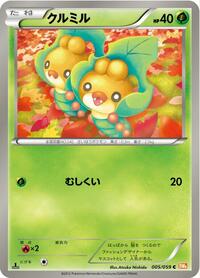
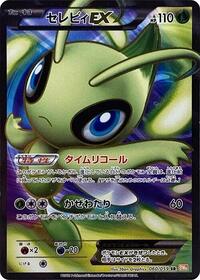
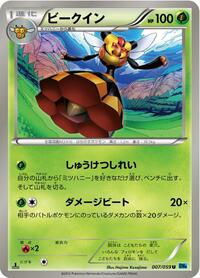
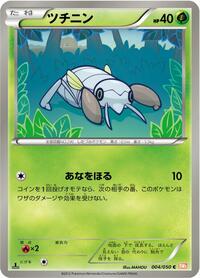
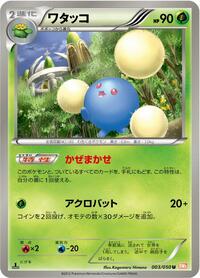
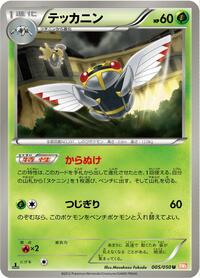
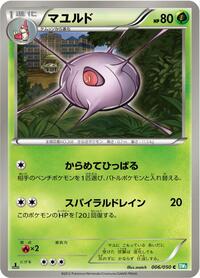
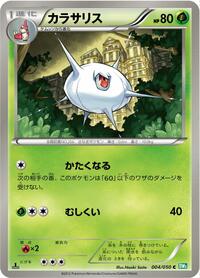
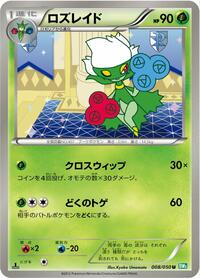
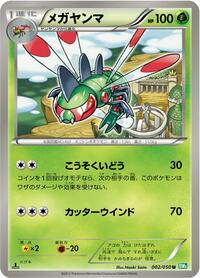
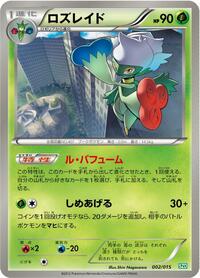
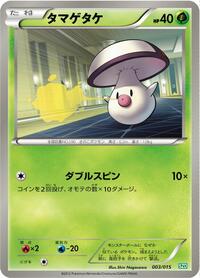
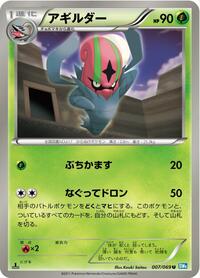
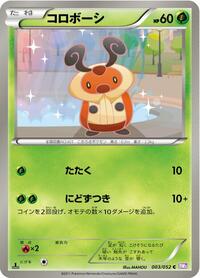
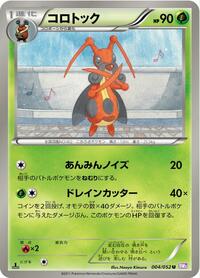
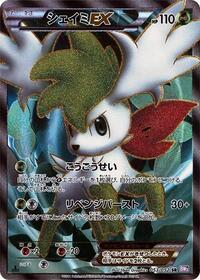
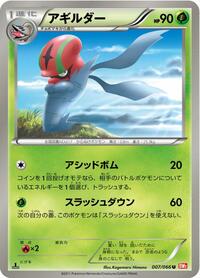
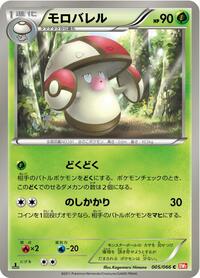
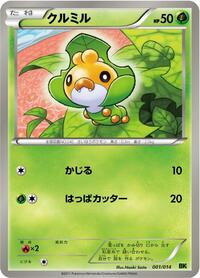
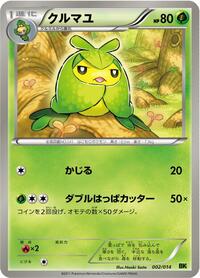
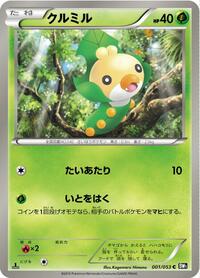
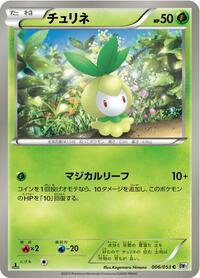
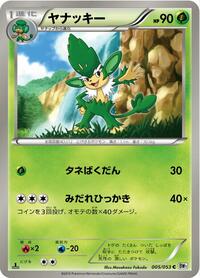
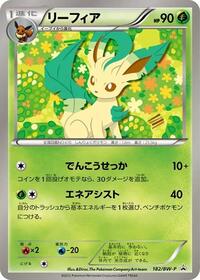
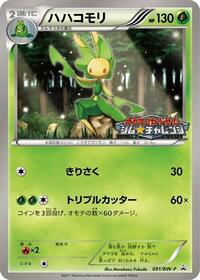
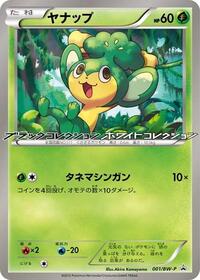
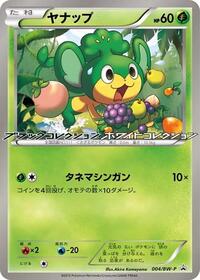
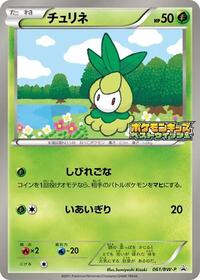
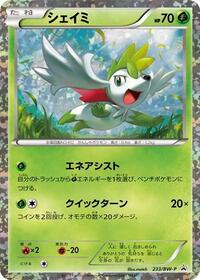
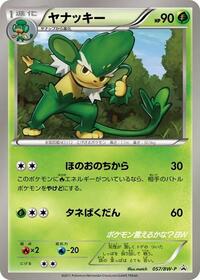
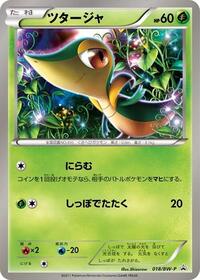
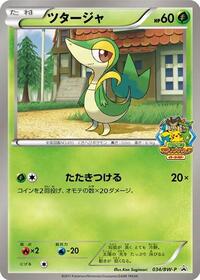
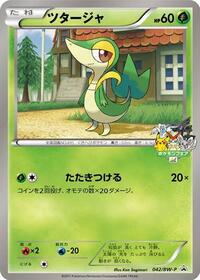
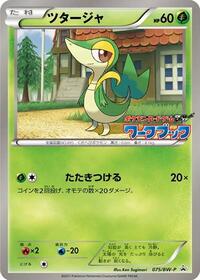
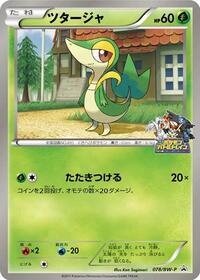
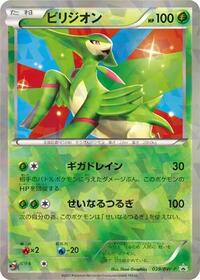
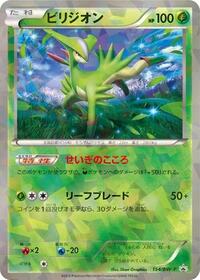
| XY-P: XY Promos | — | — | — | — | 26 | |
| XY-P: XY Promos | — | — | — | — | — | |
| XY-P: XY Promos | — | — | — | — | — | |
| XY-P: XY Promos | — | — | — | — | 55 | |
| XY-P: XY Promos | — | — | — | — | — | |
| EX Battle Boost | — | — | — | — | — | |
| EX Battle Boost | — | — | — | — | — | |
| EX Battle Boost | — | — | — | — | — | |
| EX Battle Boost | — | — | — | — | — | |
| EX Battle Boost | — | — | — | — | — | |
| EX Battle Boost | — | — | — | — | — | |
| EX Battle Boost | — | — | — | — | — | |
| EX Battle Boost | — | — | — | — | — | |
| Mewtwo vs Genesect Deck Kit (Genesect) | — | — | — | — | — | |
| Mewtwo vs Genesect Deck Kit (Genesect) | — | — | — | — | — | |
| Mewtwo vs Genesect Deck Kit (Genesect) | — | — | — | — | — | |
| Mewtwo vs Genesect Deck Kit (Genesect) | — | — | — | — | — | |
| Mewtwo vs Genesect Deck Kit (Genesect) | — | — | — | — | 22 | |
| BW9: Megalo Cannon | — | — | — | — | — | |
| BW9: Megalo Cannon | — | — | — | — | — | |
| BW9: Megalo Cannon | — | — | — | — | — | |
| BW9: Megalo Cannon | — | — | — | — | — | |
| BW9: Megalo Cannon | — | — | — | — | 181 | |
| BW9: Megalo Cannon | — | — | — | — | 177 | |
| BW9: Megalo Cannon | — | — | — | — | — | |
| BW8: Spiral Force | — | — | — | — | — | |
| BW8: Spiral Force | — | — | — | — | 348 | |
| BW8: Thunder Knuckle | — | — | — | — | — | |
| BW8: Thunder Knuckle | — | — | — | — | — | |
| Everyone's Exciting Battle | — | — | — | — | — | |
| Everyone's Exciting Battle | — | — | — | — | — | |
| Everyone's Exciting Battle | — | — | — | — | — | |
| Everyone's Exciting Battle | — | — | — | — | 1 | |
| BW6: Cold Flare | — | — | — | — | — | |
| BW6: Cold Flare | — | — | — | — | — | |
| BW6: Cold Flare | — | — | — | — | — | |
| BW6: Freeze Bolt | — | — | — | — | — | |
| BW5: Dragon Blade | — | — | — | — | 1 | |
| BW5: Dragon Blade | — | — | — | — | — | |
| BW5: Dragon Blade | — | — | — | — | — | |
| BW5: Dragon Blast | — | — | — | — | 180 | |
| BW5: Dragon Blast | — | — | — | — | — | |
| BW5: Dragon Blast | — | — | — | — | — | |
| BW5: Dragon Blast | — | — | — | — | 1 | |
| Hydreigon Half Deck | — | — | — | — | 16 | |
| Hydreigon Half Deck | — | — | — | — | — | |
| BW4: Dark Rush | — | — | — | — | — | |
| BW4: Dark Rush | — | — | — | — | 3 | |
| BW4: Dark Rush | — | — | — | — | — | |
| BW3: Hail Blizzard | — | — | — | — | — | |
| BW3: Hail Blizzard | — | — | — | — | — | |
| BW3: Hail Blizzard | — | — | — | — | — | |
| BW3: Hail Blizzard | — | — | — | — | 151 | |
| BW3: Psycho Drive | — | — | — | — | — | |
| BW3: Psycho Drive | — | — | — | — | — | |
| BW3: Psycho Drive | — | — | — | — | — | |
| BW2: Red Collection | — | — | — | — | 184 | |
| BW2: Red Collection | — | — | — | — | — | |
| BW2: Red Collection | — | — | — | — | — | |
| BW2: Red Collection | — | — | — | — | 250 | |
| BK: Virizion Battle Strength Deck | — | — | — | — | — | |
| BK: Virizion Battle Strength Deck | — | — | — | — | — | |
| BW1: Black Collection | — | — | — | — | — | |
| BW1: Black Collection | — | — | — | — | — | |
| BW1: White Collection | — | — | — | — | 10 | |
| BW1: White Collection | — | — | — | — | 176 | |
| BW-P Promotional cards | — | — | — | — | — | |
| BW-P Promotional cards | — | — | — | — | 22 | |
| BW-P Promotional cards | — | — | — | — | — | |
| BW-P Promotional cards | — | — | — | — | — | |
| BW-P Promotional cards | — | — | — | — | — | |
| BW-P Promotional cards | — | — | — | — | 20 | |
| BW-P Promotional cards | — | — | — | — | — | |
| BW-P Promotional cards | — | — | — | — | — | |
| BW-P Promotional cards | — | — | — | — | — | |
| BW-P Promotional cards | — | — | — | — | — | |
| BW-P Promotional cards | — | — | — | — | — | |
| BW-P Promotional cards | — | — | — | — | — | |
| BW-P Promotional cards | — | — | — | — | — | |
| BW-P Promotional cards | — | — | — | — | — | |
| L3: Clash at the Summit | — | — | — | — | — | |
| L3: Clash at the Summit | — | — | — | — | 143 | |
| L3: Clash at the Summit | — | — | — | — | — | |
| L3: Clash at the Summit | — | — | — | — | — | |
| L3: Clash at the Summit | — | — | — | — | — | |
| L3: Clash at the Summit | — | — | — | — | — | |
| L3: Clash at the Summit | — | — | — | — | — | |
| L3: Clash at the Summit | — | — | — | — | — | |
| L3: Clash at the Summit | — | — | — | — | — | |
| L3: Clash at the Summit | — | — | — | — | — | |
| L3: Clash at the Summit | — | — | — | — | — | |
| LL: Lost Link | — | — | — | — | — | |
| LL: Lost Link | — | — | — | — | — | |
| L2: Revival Legends | — | — | — | — | — | |
| L2: Revival Legends | — | — | — | — | — | |
| L2: Revival Legends | — | — | — | — | — | |
| L2: Revival Legends | — | — | — | — | — | |
| L2: Revival Legends | — | — | — | — | — | |
| L2: Revival Legends | — | — | — | — | — | |
| L2: Revival Legends | — | — | — | — | — | |